Integrated Seatpost Extension
Time trial bikes are expensive. A friend was offered one at mate’s rates with a frustrating problem; it had an integrated seat post and he was taller than the previous rider. No matter, carbon is a friendly material for rework, so we decided the best fix was to extend the seat post with fresh carbon. After some measurements, it looked like we needed to add approximately 3” additional height.
This seat was an external fit, so the outer dimensions and geometry needed to match the profile of the seat. I sketched up a simple plan. 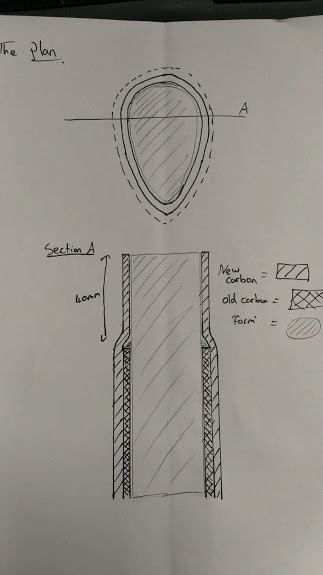
For the core that we would wrap around we photographed it, then scaled it in Onshape and created an extrusion. This worked remarkably well at replicating the same geometry. 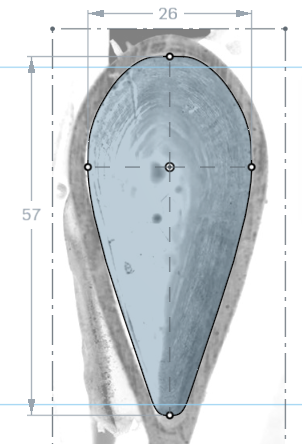

I 3d printed the core and was impressed to find it was within 0.2mm of design size, and a snug fit in the bike. Pretty good for my cheap FDM printer. 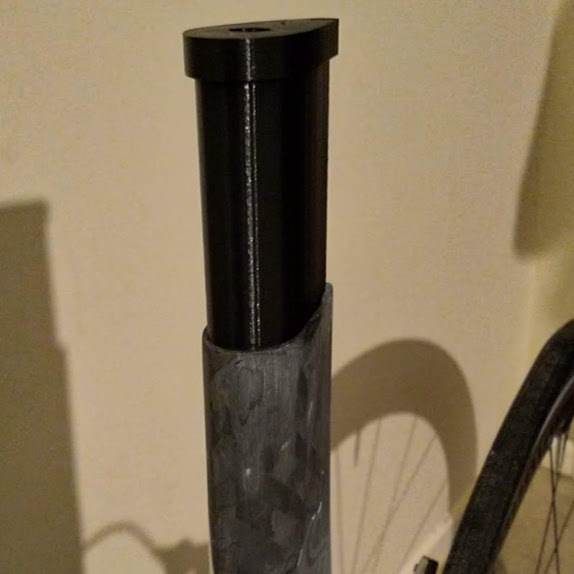
To ensure the dimensions after wrapping would be right, and convince ourselves of the structural integrity of carbon, we made a test piece. Material wise the carbon was 2x2twill 200g carbon, and an epoxy a standard room temperature fast cure resin. Based on the target thickness and some online research, between 10 and 12 layers were recommended.
The bike was prepared by sanding down the existing paintwork to bare carbon for the 4” overlap planned then cleaning first with a wet rag, and before layup with iso to remove grease. Surface prep is key for a good bond.
Wet layup is always quite messy, and well worth preparing everything beforehand. The pot life of 12mins doesn’t leave a lot of time. We precut strips the right width and length plus applied mold release to sections we didn’t want epoxy adhering to.
The test piece was relatively easy as maneuvering it was much simpler. After wrapping the carbon and ensuring it was fully wetted out we applied a layer of peel ply, then breather fabric to soak up the excess epoxy, then wrapped it with an old inner tube to apply pressure to squeeze out the excess epoxy. When repeating the process on the bike as the excess ran down the frame we carefully wiped it away.
The test piece cured overnight. I managed to demould it from the core (ultimately destructive for the core) and after some completely unscientific testing involving jumping on it and dropping weights on it decided it was adequate. 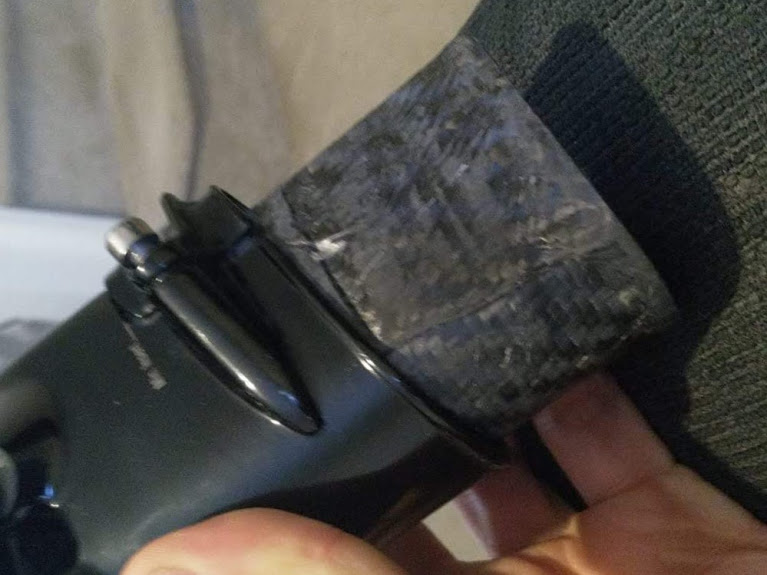
It was also a near-perfect fit for the saddle. With this boosted confidence it was on to the real thing. The process was as above except this time wrapping over the existing seat post as well. The core was left in - although I’m confident it could have been destructively removed if necessary. I have no photos of it finished, but after sanding down it was ready to ride and has been ridden for ~6 months now with no issues.